Acknowledgement of Country
For thousands of years the Kaurna people have walked on the land we meet today. We acknowledge them as the traditional owners and recognise them for their care and continued connection with this land. We acknowledge their Elders past, present and emerging and pay respect to Kaurna and other First Nations peoples present with us today. As a church community, we commit to actively work alongside First Nations people for truth, unity, equality, equity, and healing.
Timeline of the Night
6.30pm – Welcome and Art Warm Up
6.45pm – Extra Info and Theme Talk
6.55pm – Intro to Art Activity
7.00pm – Creative Time
From 7.00pm – Dinner
8.00pm – Dessert
8.45pm – Farewell
8.50pm – Pack Up


Art Warm Up
The art warm up is a simplified version of the main art activity. It’s purpose is to help you get you comfortable with being creative and help with some of the skills and techniques you might need later on.
You will need: a piece of card, a simple design, paper clips, cork mat, pin, needle, embroidery thread.
Step 1: Place a design on top of your card and secure with paper clips.
Step 2: Put a cork mat underneath your card and use your pin to prick holes along the lines of your design.
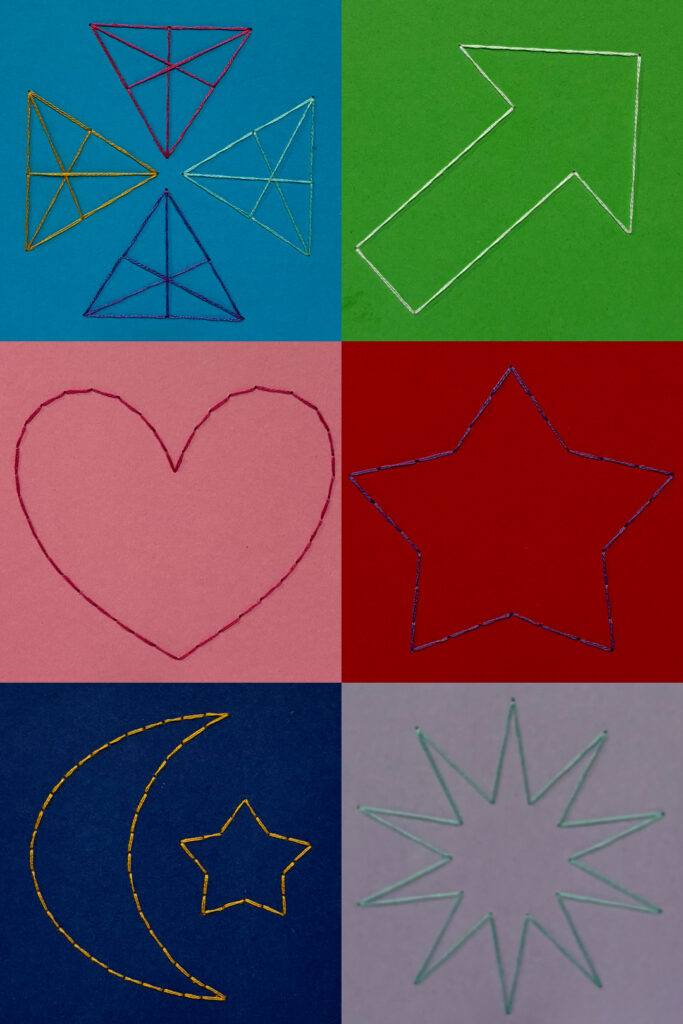
It’s you choice how many holes you prick and how far apart they are. Look at the images below to see how the amount of holes make the designs look different.
Step 3: Remove the paper clips and the design paper.
Step 4: Cut a length of embroidery thread (approx 40cm) and split so you only have two strands. Thread the strands onto your needle and tie a knot at the end of the thread.
Step 5: Start from the back of you card and back stitch your design. When your thread has run out, or you wish to change colours, tie off and cut your thread.
Other Tips:
I suggest you use tapestry or cross stitch needles as they have larger eyes and are blunt.
You can use a pencil to mark the places you like to put your holes before pricking.
Instead of knotting your thread you can tape it to the back of your card.
Also you can find video instructions further down the page.

Theme for Reflection
Each Create night we like to give you something to think about as you create. Art is a great medium to help us think about and process thoughts and concepts.
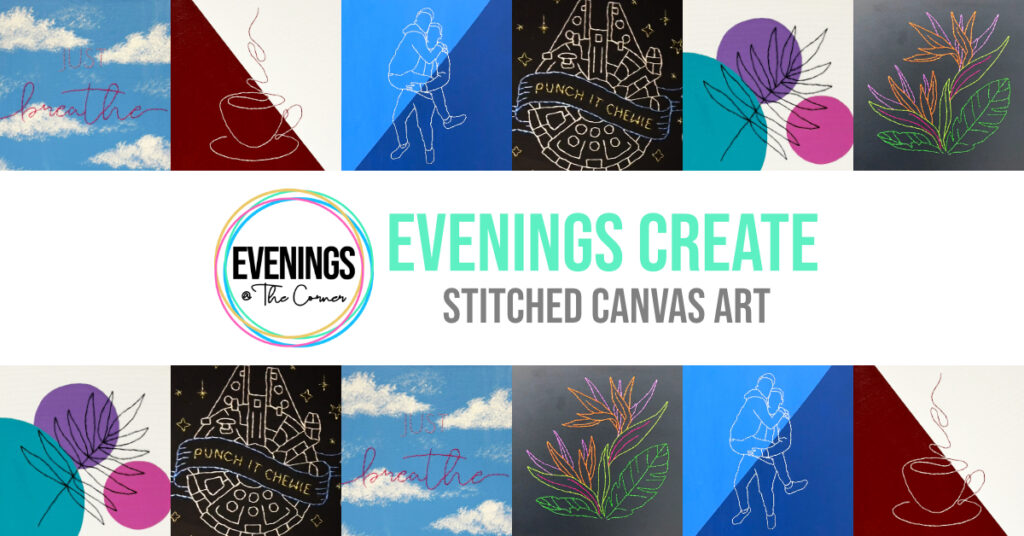
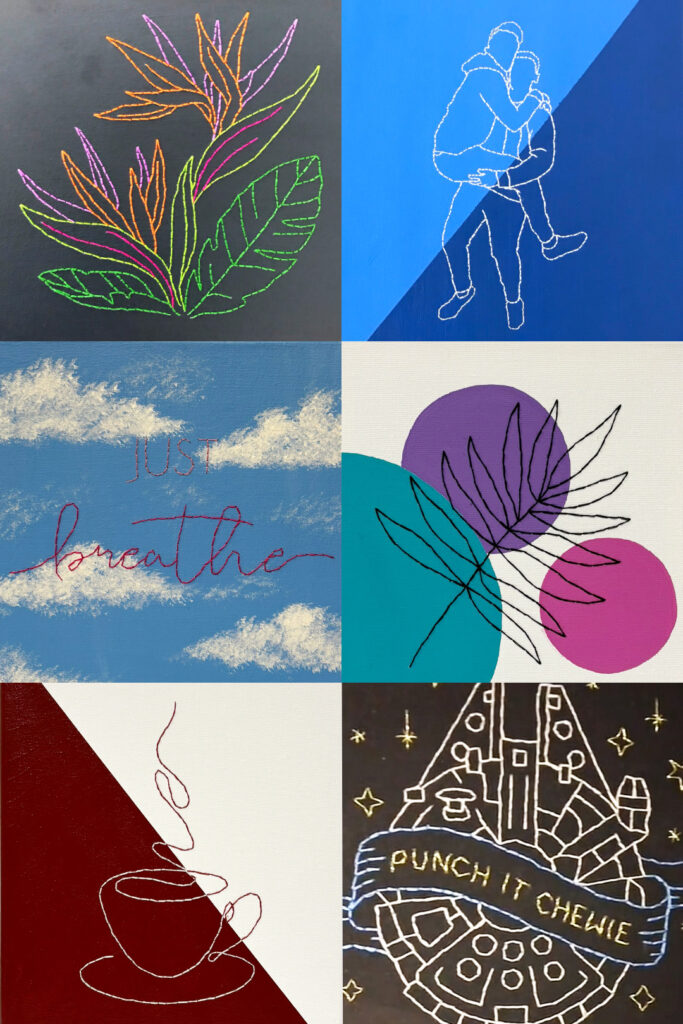
Stitched Canvas Artworks
Follow the links below for a video tutorial. The videos are all the same, just on different social media platforms.
CLICK HERE for tutorial on TIKTOK
CLICK HERE for tutorial on INSTAGRAM
CLICK HERE for tutorial on FACEBOOK
Or follow the instruction below.
You will need: a canvas, a design, pin, needle, embroidery thread, tape, paint, paint brushes
Step 1: Paint or decorate your canvas.
Step 2: Once you canvas is dry, place a design on top and secure with tape.
Step 3: Use your pin to prick holes along the lines of your design.
It’s you choice how many holes you prick and how far apart they are.
Step 4: Remove the tape and the design paper.
Step 5: Cut a length of embroidery thread (approx 40cm) and split so you only have two strands. Thread the strands onto your needle and tie a knot at the end of the thread.
Step 6: Start from the back of you card and back stitch your design. When your thread has run out, or you wish to change colours, tie off and cut your thread.
Other Tips:
I suggest you use tapestry or cross stitch needles as they have larger eyes and are blunt.
You can use a pencil to mark the places you like to put your holes before pricking.


