September 2023 – Lino Printing & other Printmaking
Acknowledgement of Country
For thousands of years the Kaurna people have walked on the land we meet today. We acknowledge them as the traditional owners and recognise them for their care and continued connection with this land. We acknowledge their Elders past, present and emerging and pay respect to Kaurna and other First Nations peoples present with us today. As a church community, we commit to actively work alongside First Nations people for truth, unity, equality, equity, and healing.
Timeline of the Night
6.30pm – Art Warm Up
6.35pm – Welcome and theme introduction
6.50pm – Intro to Art Activity
7.00pm – Creative Time
From 7.00pm – Dinner
8.00pm – Dessert
8.50pm – Farewell
8.55pm – Pack Up

Art Warm Up
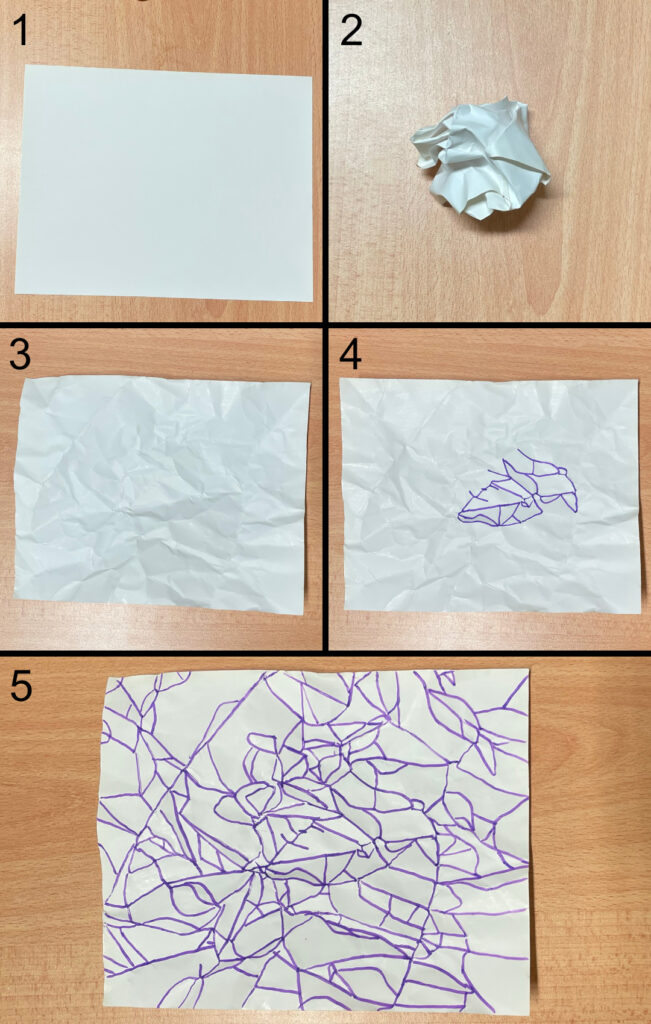
The art warm up will help you loosen up and feel more confident to be creative later in the night.
Step 1: Take a plain piece of paper
Step 2: Scrunch up the paper into a ball
Step 3: Flatten out the paper
Step 4: Trace all the lines and creases
Step 5: Continue until the whole page is full
Theme for the night – It Take Practice
Tonight I want us to think about the idea of ‘Practicing’.
I was going to say, ‘practice makes perfect’, but since Evenings Create isn’t about creating perfecting, it didn’t quite fit.
We need to practice to get better at things, to get more confident, to grow.
It kind of sucks we have to practice things, I want to be good at something right away, but life doesn’t work like that.
Think for a second,
what is something in your life that you have had to practice to be able to do?
It could be thing like driving, reading, writing, maths, riding a bike, doing art etc.
All these things take practice, time, intention, learning from our mistakes and persistence.
Printmaking takes all theses things too.
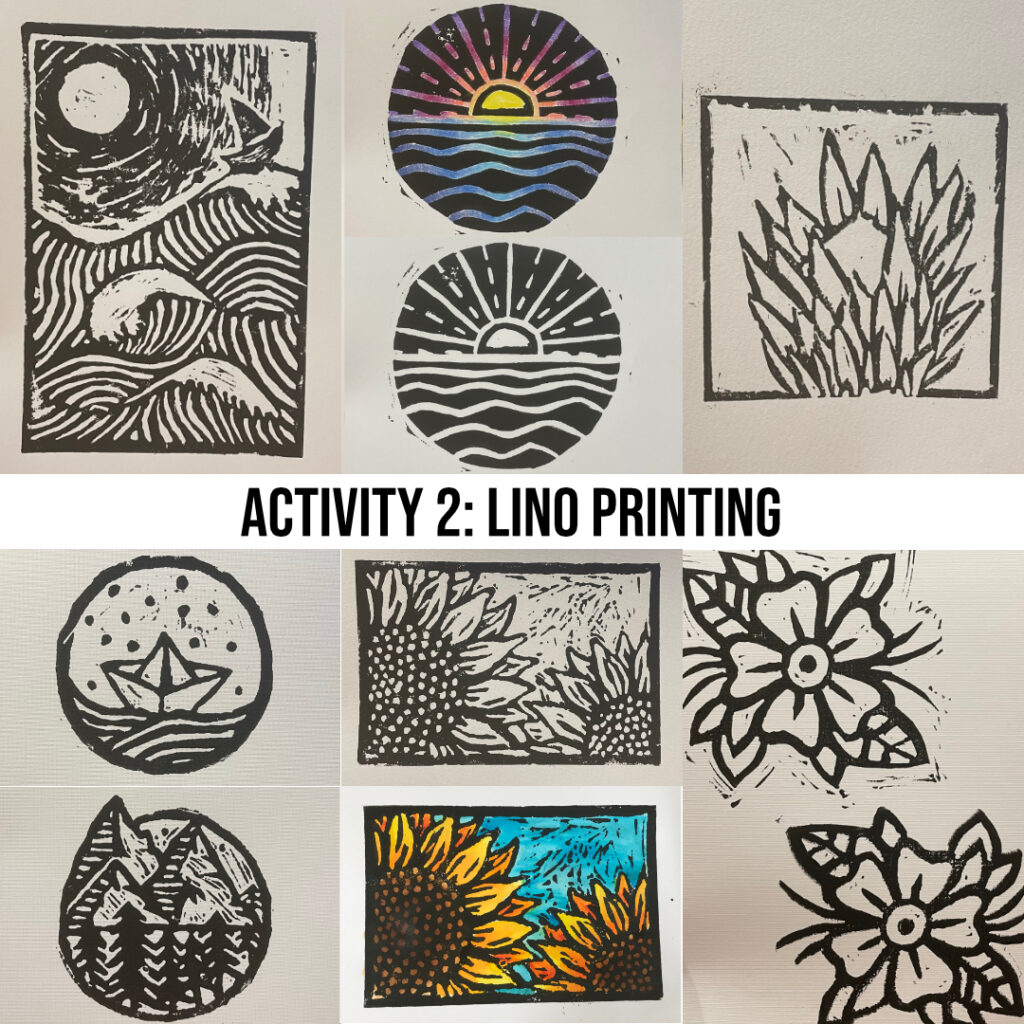
One of the activities tonight is cutting and printing lino prints.
I don’t know if you have done that before, but it is a process. You have to keep making changes, making adjustments, trying things and learning from what didn’t work.
You can have finished your lino cut and then go to print it and see you didn’t cut it deep enough in some parts, so you have to go back and re carve.
You can use ink and paper to print you design, and then you realise you did too little or too much ink, so you have to reprint.
You can realise you didn’t push hard enough on your paper and it didn’t print smooth, so you have to do it again.
This isn’t to make you scared of printmaking. It’s really fun, I swear.
But to let you know it’s an art medium that takes practice. That you won’t get it perfect the first time, but you will always learn something and be able to give it another go.
It’s the same with life. Life takes practice.
And not just the practical, skill based things.
Driving a car takes practice, but so does having compassion for people.
Learning to read takes practice, but so does helping someone when they are hurting.
Cooking well takes practice, but so does knowing how to stand up for injustice.
It’s takes practice to have patience, to be kind, to care for the earth, to know how to build connections and relationships and to be the best version of yourself.
None of us are really good at things the first try.
We have to practice, we have to learn, we have to mess up sometimes, and then we have to practice again.
So as you create tonight, go easy on yourself, printmaking takes practice.
After you leave tonight, go easy on yourself, life takes practice too.
Art Activity
There are several different types of printmaking you can participate in during the night. They all require different amounts of time and skill and some are only appropriate for teenagers and adults.
Below are some video links to help you with your printmaking:
A video explaining the different tools for lino cutting and printing
An example of lino cutting and printing (no voiceover)
YouTube video of how to trace and cut lino
YouTube video of lino printing and cutting process
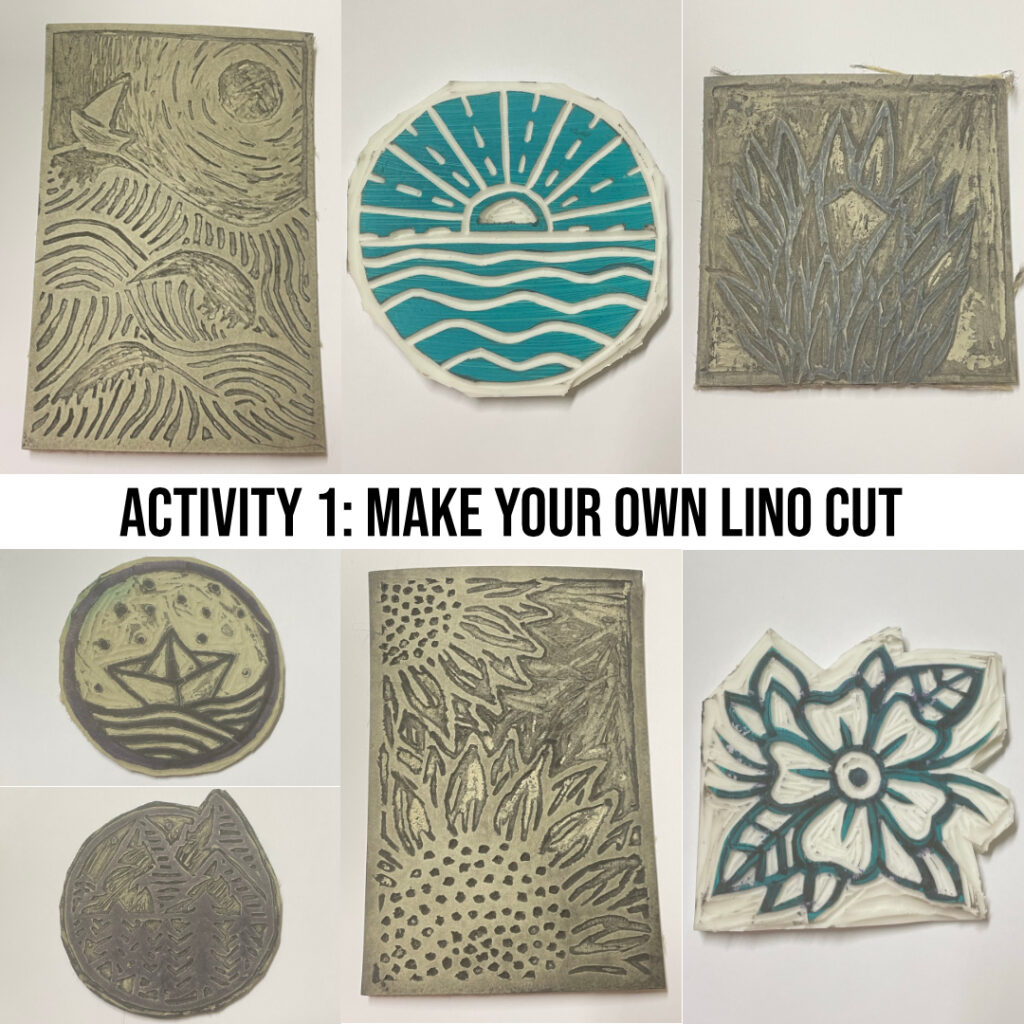
Option 1 – Make your own Lino Cut
Only appropriate for teenagers and adults
You will need: Lino (or easy carve block), non slip mat, pencil, permanent texta, cutting tools
Optional – paint a thin, watered down layer of paint on the lino so help when you are carving your design.
Step 1: Choose a design and trace or draw onto your lino.
*Make sure you mirror your design.
Step 2: Draw over your design with a permanent texta.
*Make sure to mark which part of the design you want to carve out.
Step 3: Put your lino on a non stick mat. Use the cutting tools to carve out your design.
*Make sure are careful with the tools and keeps your hands out the way. You only need to carve a thin layer.
Step 4: Optional – if you design is not square, cut excess lino off the edges.
Step 5: Print your design
Option 2 – Lino Printing
Appropriate for all ages
You will need: Lino cut, printing ink, roller, acrylic sheet, paper, brayer, spoon
Step 1: Put a small amount of printing ink on the acrylic sheet.
Step 2: Use the roller to spread the ink on acrylic sheet.
*Make sure you keep lifting the roller to make sure you get a even coat on it.
Step 3: Roll the roller over your lino cut.
*Make sure it covers all parts evenly.
Step 4: Lay a piece of paper on top of the lino cut and use the brayer, the back of a spoon or your hand to rub over the design.
*Make sure to rub over the whole design.
Step 5: Carefully lift the paper off your lino cut.
*Look at your print and decide if you want to print it again. Consider if you need to do anything differently – eg. more or less ink, more of less pressure, different paper.
* If using your own lino cut – think about if you need to re carve any parts of your design
Step 6: Optional – Once your print is dry (you can carefully use the hairdryer) colour your design in with paint, textas, pencils etc.
*The ink is water based, so you will need to careful with when painting over it.
Clean up: Wash your lino cut with water and a little soap, then dry with paper towel.
*The roller and acrylic sheet only need to be washed at the end of the night
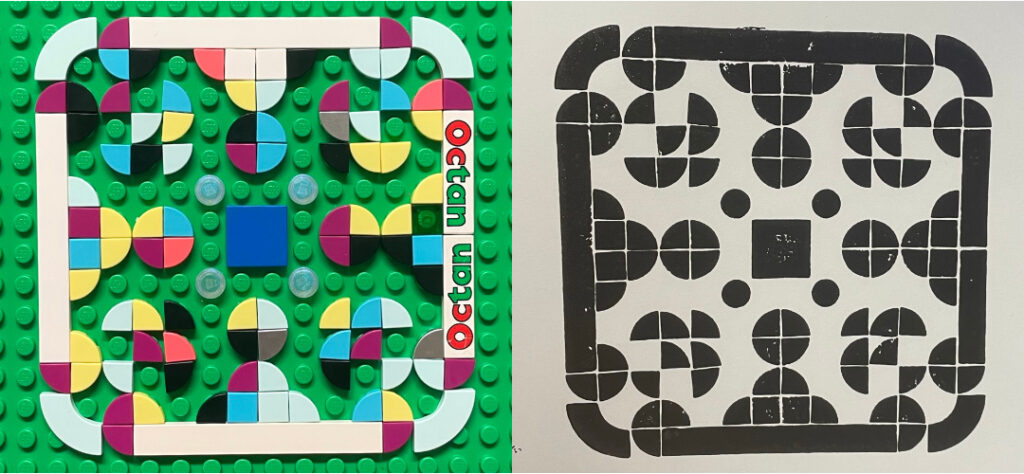
Option 3 – Lego Printing
Appropriate for all ages
You will need: Lego base board, flat top Lego, printing ink, roller, acrylic sheet, paper, brayer, spoon
Step 1: Make a design with the flat top Lego on one of the base boards.
Step 2: Put a small amount of printing ink on the acrylic sheet.
Step 2: Use the roller to spread the ink on acrylic sheet.
*Make sure you keep lifting the roller to make sure you get a even coat on it.
Step 3: Roll the roller over the Lego design.
*Make sure it covers all parts evenly.
Step 4: Lay a piece of paper on top of the Lego and use the brayer, the back of a spoon or your hand to rub over the design.
*Make sure to rub over the whole design.
Step 5: Carefully lift the paper off your lino cut.
*Look at your print and decide if you want to print it again. Consider if you need to do anything differently – eg. more or less ink, more of less pressure, different paper.
Step 6: Optional – Once your print is dry (you can carefully use the hairdryer) colour your design in with paint, textas, pencils etc.
*The ink is water based, so you will need to careful with when painting over it.
Clean up: Wash the Lego and Lego board with water and a little soap. Take the Lego pieces off the board and both with paper towel.
*The roller and acrylic sheet only need to be washed at the end of the night
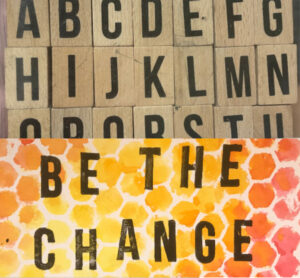
Option 4 – Stamping
Appropriate for all ages
You will need: Stamps, ink pad, paper
Step 1: Use the stamps and ink pads to create words or design on your page
Step 2: Optional – either before or after stamping decorate your page with other art materials
Clean Up: Wipe the stamps with paper towel to clean off an excess ink.
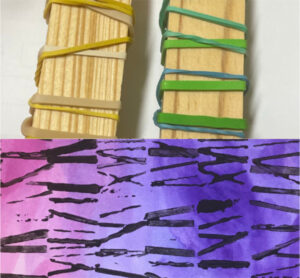
Option 4 – Rubber Band stamps
Appropriate for all ages
You will need: wooden blocks, rubber bands, ink pad (or printing ink)
Step 1: Wrap rubber bands around your wooden blocks.
Step 2: Press block onto stamp pad and then print onto paper. Print as many times as you like.
*You may also choose to use a roller to cover your block with printing ink.
*Experiment with different sides of your wooden block, adding or taking away rubber bands, or using different thickness rubber bands.
Step 3: Optional – either before or after stamping decorate your page with other art materials
Clean Up: Wipe the wooden brick and rubber bands with paper towel to clean off an excess ink.
*If using printing ink, wash the wooden blocks and rubber bands with water and a little soap and dry with paper towel.
